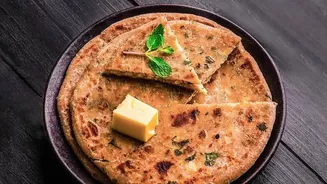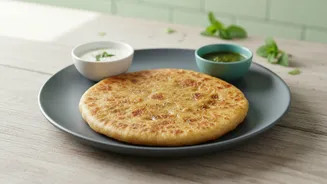






The Foundation: A Soft and Pliable Dough
The journey to a perfect paratha begins with the dough. A dough that is too hard or dry will have no elasticity, making it prone to cracking under the pressure of rolling. The goal is a soft, pliable dough that’s slightly softer than what you would make
for a regular chapati. To achieve this, use lukewarm water for kneading, which helps create a softer texture. Adding a tablespoon of ghee or oil during the kneading process will also make the dough more elastic. Knead for a good 10-15 minutes until it is smooth and supple. Perhaps the most crucial step is to let the dough rest. Cover it with a damp cloth and set it aside for at least 20-30 minutes. This resting period allows the gluten to relax, making the dough stretchy and much less likely to tear when you roll it.
The Filling: Dry is Your Best Friend
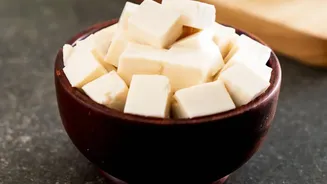
The single biggest culprit behind a torn paratha is a wet filling. Excess moisture in the stuffing—whether it's from potatoes, paneer, or other vegetables—will create steam inside the paratha, forcing its way out and tearing the dough. For potato fillings, ensure you don't overcook them. After boiling, allow potatoes to cool naturally instead of running them under cold water, which adds moisture. Grating the boiled potatoes instead of mashing them can also result in a drier, lighter texture. If your filling still feels moist, you can sauté it on the stove for a few minutes to dry it out or add a binder like breadcrumbs or a pinch of flour to absorb excess water. Also, always make sure your filling has cooled to room temperature before you begin stuffing; a hot filling will almost certainly cause the dough to break.
The Stuffing: Balance is Everything
It’s tempting to overstuff a paratha for maximum flavour, but this is a common reason for breakage. A good rule of thumb is to use a stuffing-to-dough ratio where the volume of the filling is roughly the same as the dough ball, or slightly less. When sealing the paratha, there are a few effective techniques. One popular method is to flatten the dough ball, especially around the edges while keeping the centre slightly thicker. Place the filling in the middle, then bring the edges together, pleating them as you go to enclose the stuffing completely. Pinch the top to seal it tightly. Many cooks recommend pinching off the small knob of excess dough at the top to avoid a thick, uncooked centre. Another method involves rolling out two smaller, separate discs of dough, placing the filling on one, and then covering it with the second disc, sealing the edges firmly.
The Rolling: A Gentle and Even Hand
Aggressive rolling is a guaranteed way to tear your paratha. The key is to use light, gentle, and even pressure. Start by flattening the stuffed dough ball with your fingers to spread the filling evenly before you even pick up the rolling pin. Always dust the rolling surface and the dough ball with a light coating of dry flour to prevent sticking. When you begin rolling, do not press down hard. Roll from the centre outwards, gently rotating the paratha after every few rolls to ensure it expands evenly. If you apply too much force in one direction, the filling will be pushed to one side and burst through the thin dough. Let the weight of the rolling pin do most of the work.
The Tawa: Mastering the Heat
Finally, the cooking process itself can make or break your paratha. The tawa (griddle) must be properly preheated before you place the paratha on it; if the tawa is not hot enough, the paratha can stick and tear. Cook on medium to medium-high heat. If the heat is too high, the outside will burn before the inside is cooked. Let the first side cook for about a minute, or until you see small bubbles forming, before flipping it. Avoid flipping the paratha too many times, as this can cause it to break. Once both sides are lightly cooked, then you can start applying ghee or oil, pressing down gently with a spatula to help it puff up and cook evenly, until it's golden brown and crisp on both sides.