






Gathering Your Essential Supplies
Before you can start pouring, you'll need a few key items. The basics for any beginner are wax, wicks, and containers. For beginners, soy wax is a popular and forgiving choice; it’s a natural vegetable wax that burns cleanly and holds fragrance well.
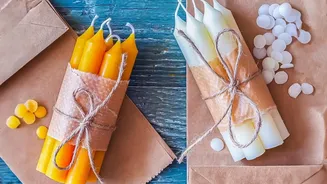
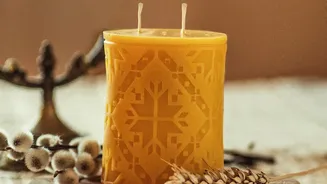
Paraffin wax is another option known for being inexpensive and having a strong scent throw, while beeswax offers a natural, sweet scent and a slow burn. You will also need wicks correctly sized for your containers to ensure an even burn, wick stickers to anchor them, and a centering tool to hold them straight. Finally, choose heat-safe containers like glass jars or tins. To melt everything, a double boiler is the safest method; this can be a dedicated pouring pot placed inside a larger pot of water.
Setting Up for Safety and Success
Working with hot wax requires some simple but important safety measures. Prepare a clean, uncluttered workspace away from flammable items like curtains or paper towels. It's crucial to have good ventilation, so open a window or use a fan to disperse fumes from the melting wax and any added fragrances. Protect your surfaces from spills with newspaper or a craft mat. To protect yourself, wear closed-toe shoes and consider an apron to guard against splashes of hot wax. Never leave melting wax unattended, as this is a primary fire risk. Having a fire extinguisher nearby is always a wise precaution when dealing with hot, flammable materials.
The Core Process: Melting and Pouring
With your station ready, it's time to make a candle. First, measure your wax flakes or pellets. A general rule is to double the volume of your container to determine how much solid wax you need. Using a double boiler, melt the wax over medium heat, stirring occasionally. Keep a thermometer handy to monitor the temperature; for soy wax, you'll typically heat it to around 185°F (85°C). While the wax melts, prepare your containers by securely placing a wick in the exact center of the bottom using a wick sticker. Once the wax reaches the target temperature, remove it from the heat. This is the moment to add your customizations.
Adding Colour and Fragrance
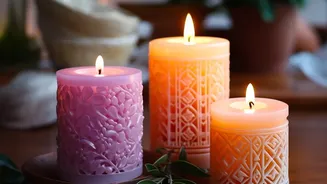
This is where your creativity shines. To add scent, stir in fragrance oils specifically designed for candles after removing the wax from the heat. Essential oils can also be used, but fragrance oils are formulated to bond better with wax and provide a stronger, more consistent scent throw. For colour, it’s vital to use candle-specific dyes, which come in liquid, block, or flake form. Do not use water-based food colouring or crayons, as they will not mix properly with the oil-based wax and can clog the wick, creating a fire hazard. Stir your chosen additions gently but thoroughly for about two minutes to ensure they are fully incorporated. Let the wax cool slightly before pouring, usually to around 135°F (57°C), to get a smoother finish.
Pouring, Curing, and Finishing Touches
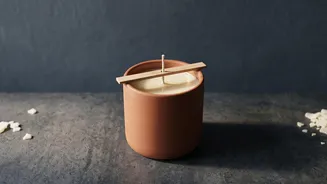
Pour the scented, coloured wax slowly and steadily into your prepared container to avoid air bubbles and splashes. Leave a little space at the top. Use a wick centering tool, or even two pencils laid across the jar's rim, to keep the wick straight and centered as the wax hardens. Now comes the hardest part: waiting. A candle needs to cure, which means letting it sit undisturbed to fully harden and for the fragrance to bind with the wax. This can take anywhere from several hours to a couple of weeks, depending on the wax type. Rushing this process can result in a weaker scent. Once cured, trim the wick to about a quarter of an inch before its first burn to ensure a clean, safe flame.