

The Nutritional Power of Ragi
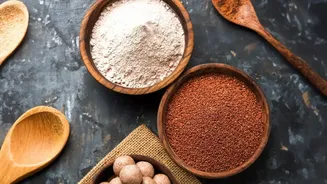
Before we get to the cooking, let’s talk about why ragi, or finger millet, deserves a prime spot in your pantry. This ancient grain is a nutritional powerhouse, making it a fantastic upgrade from standard refined flour pancakes. Ragi is famously rich
in calcium, which is essential for maintaining strong bones and teeth. It's also an excellent source of dietary fibre. This high fibre content aids digestion, promotes a feeling of fullness that can help with weight management, and supports more stable energy levels by slowing the release of sugar into the bloodstream. Furthermore, ragi is loaded with iron, making it a valuable food for helping to prevent anaemia, particularly for those on vegetarian or plant-based diets. Being naturally gluten-free, it's also a wonderful option for individuals with gluten sensitivities or celiac disease. By choosing ragi, you’re not just making a pancake; you're building a better breakfast from the ground up.
A Simple and Adaptable Ragi Pancake Recipe
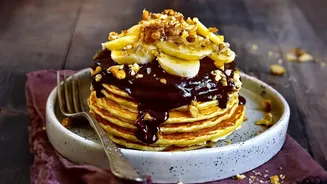
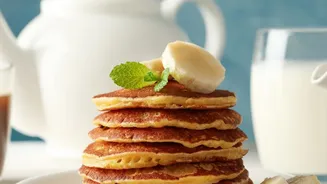
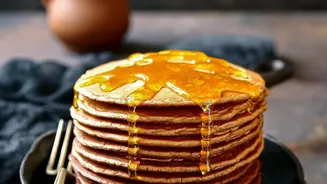
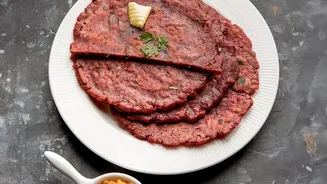
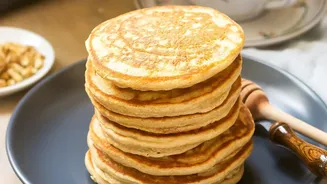
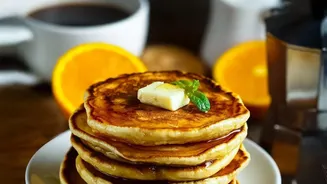
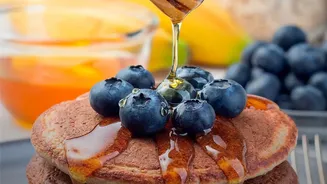
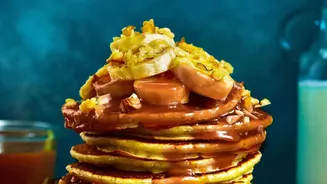
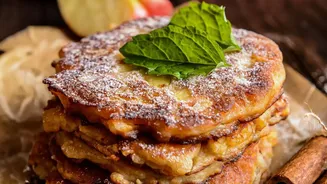
This recipe is a fantastic starting point. It’s eggless and can be easily adapted with different sweeteners or flours. For fluffier pancakes, you can let the batter rest for 10-15 minutes before cooking. Ingredients: 1 cup ragi flour, ½ cup whole wheat flour (or use all ragi flour), 1 ripe banana (mashed), 1 cup milk (adjust as needed), 1 tablespoon yogurt or curd (optional, for softness), 1 teaspoon baking powder, a pinch of salt, and 1-2 tablespoons of jaggery powder or honey (optional, to taste). Instructions: In a large bowl, whisk together the ragi flour, whole wheat flour, baking powder, and salt. In a separate bowl, combine the mashed banana, milk, yogurt, and your chosen sweetener. Pour the wet ingredients into the dry ingredients and mix until just combined. Be careful not to overmix; a few lumps are perfectly fine. The batter should be thick but pourable. Heat a non-stick pan or tawa over medium heat and lightly grease it with ghee or butter. Pour a ladleful of batter onto the pan and cook for about 2 minutes, or until you see bubbles forming on the surface. Flip carefully and cook the other side for another 90 seconds until golden brown.
The Art of Batch-Cooking and Storing
This is where the morning magic happens. The key to successful batch-cooking is proper cooling and storage to prevent your pancakes from becoming a single, frozen mass. First, cook your entire batch of pancakes. As they come off the pan, lay them in a single layer on a wire cooling rack. Do not stack them while they are warm, as this will trap steam and make them soggy. Allow them to cool completely to room temperature — this is the most important step. Once cool, you can employ a technique called 'flash freezing'. Line a baking sheet with parchment paper and place the cooled pancakes on it in a single layer, ensuring they don't touch. Place the sheet in the freezer for about an hour, or until the pancakes are firm. This initial freeze prevents them from sticking together later. After flash freezing, you can stack the pancakes and place them in a zip-top freezer bag or an airtight container. For extra protection against sticking, you can place a small square of parchment or wax paper between each pancake. Your pancakes will keep well in the freezer for up to three months.
Reheating for a Perfect Morning Meal
When you’re rushing to get out the door, a delicious, warm breakfast is now less than two minutes away. You have several great options for reheating your frozen ragi pancakes. The Toaster: This is a fantastic method for one or two pancakes. Simply pop a frozen pancake into each slot and toast on a low setting until warmed through. This method gives the pancakes a lovely, slightly crisp edge. The Microwave: For the absolute fastest results, the microwave is your friend. Place one or two pancakes on a plate, cover with a damp paper towel to keep them moist, and heat for 30-60 seconds, depending on your microwave's power. The Oven: If you're feeding the whole family, the oven is the most efficient way to reheat a larger batch. Preheat your oven to 175°C (350°F). Arrange the frozen pancakes in a single layer on a baking sheet, cover with foil to prevent them from drying out, and bake for about 10 minutes until hot. This method makes them taste almost as if they were freshly made.