






The Problem with Store-Bought Paneer
The convenience of packaged paneer is undeniable, but its journey from production to your plate can be fraught with issues. To cut costs and increase shelf life, some manufacturers resort to adulteration. Common adulterants include starch, which adds
bulk but no nutritional value, and vegetable fats like palm oil used to replace natural milk fat. More alarmingly, investigations have found traces of detergents, urea, and synthetic milk in some products. These substances are not just deceptive; they pose significant health risks, ranging from digestive distress to long-term damage to the liver and kidneys.
From a Dietitian's View: The Homemade Advantage
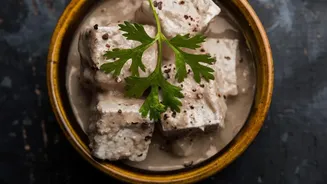
From a nutritional standpoint, homemade paneer is the clear winner. As explained by nutritionists, when you make paneer at home, you have complete control over the ingredients. You start with pure, good-quality milk and a simple acid like lemon juice or vinegar. This means no unwanted additives, preservatives, or excess salt, which is often found in packaged varieties. Freshly made paneer is also softer, easier to digest, and retains more of its nutrients, such as protein and calcium. While homemade isn't automatically safer if the milk quality is poor or hygiene is compromised, it offers transparency that store-bought options cannot match.
Simple Tests to Check Your Paneer
If you do buy paneer from a store, there are a few simple ways to check for common adulterants at home. First, trust your senses. Real paneer has a mild, milky smell; a sour or chemical-like odour is a red flag. To test for starch, one of the most common adulterants, boil a small piece of paneer in water, let it cool, and then add a few drops of iodine solution. If it turns blue or black, starch is present. Another simple check is to rub a piece of paneer in your hands; if it feels overly greasy or crumbles into a powder-like substance instead of mashing, it may be adulterated.
Your Quick Guide to Making Paneer at Home
Making paneer is surprisingly simple and requires just two main ingredients: full-fat milk and an acidic agent. Start by bringing one litre of full-fat milk to a gentle boil in a heavy-bottomed pot, stirring occasionally to prevent it from scorching. Once it boils, turn off the heat and add two to three tablespoons of lemon juice or white vinegar, stirring gently. You will see the milk begin to curdle almost immediately, separating into solid curds and a watery, greenish liquid called whey. Let it sit for a few minutes to fully separate.
Straining and Setting Your Fresh Paneer
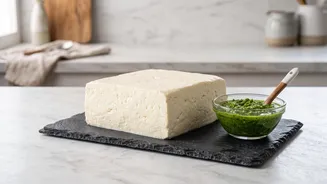
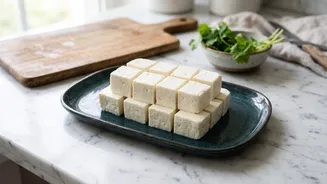
Next, line a colander or sieve with a muslin or cheesecloth and place it over a bowl or in the sink. Carefully pour the curdled milk through the cloth to strain out the whey. You can rinse the curds under cold water to remove any lingering taste from the lemon juice or vinegar. Then, gather the corners of the cloth, twist it tightly to squeeze out as much excess water as possible, and form the curds into a block. Place the wrapped block on a plate, put a heavy object on top (like a cast-iron pan or a few cans), and let it press for at least 30 minutes to an hour. The longer it's pressed, the firmer the paneer will be. Once set, your fresh, soft, and pure paneer is ready to be used.