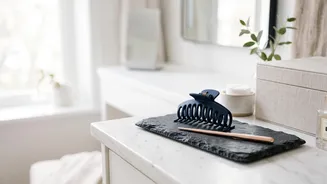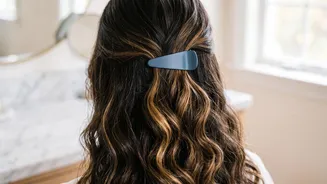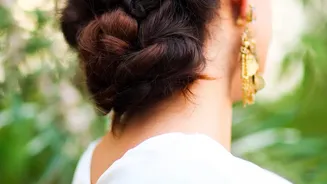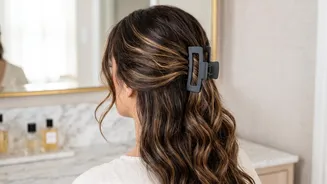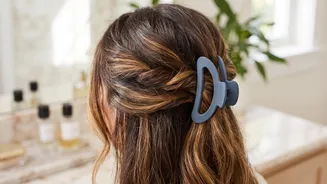








The half-up hairstyle is a timeless classic, offering the perfect blend of elegance and ease. Adding a simple twist elevates this staple look, turning it into a polished, sophisticated style that’s surprisingly easy to create for everyday wear.
The Go-To Style for Effortless Polish
Why has
the twisted half-up hairstyle become such a beloved go-to for so many? The answer is simple: versatility. It’s a look that effortlessly bridges the gap between casual and formal. It keeps your hair neatly out of your face while still allowing you to show off your length and texture. Whether you’re heading to the office, meeting friends for brunch, or attending a last-minute event, this style gives you a put-together feel without looking like you’ve spent hours on it. It’s the ultimate ‘I tried, but not too hard’ statement, and it works beautifully on almost any hair type and length, from a chic bob to long, flowing locks.
Gather Your Simple Toolkit
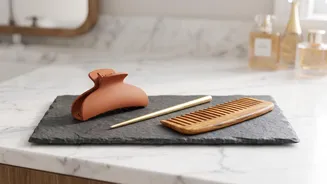
You don’t need a professional salon kit to master this hairstyle. The beauty of the twisted half-up is its simplicity, which extends to the tools required. Before you start, make sure you have just a few essentials on hand: a comb for clean parting, a couple of small, clear hair elastics or ones that match your hair colour, and a few bobby pins for securing the twists. If your hair is particularly fine or silky, having some texturizing spray or dry shampoo nearby can be a game-changer. This will give your strands a bit of grip, helping the twists stay in place all day long. A light-hold hairspray for the final touch is also recommended.
A Step-by-Step Guide to the Perfect Twist
Ready to create the look? It’s easier than you think. Start with your hair as you normally wear it, though this style often holds best on hair that isn’t freshly washed. Day-two hair with a bit of texture is ideal. 1. Section Your Hair: Take a two-inch section of hair from one side of your head, starting from around your temple. 2. Create the First Twist: Twist this section away from your face, moving back toward the crown of your head. Don't twist too tightly; a softer twist creates a more romantic, effortless vibe. Temporarily pin it in place at the back of your head. 3. Repeat on the Other Side: Take a matching section of hair from the other side and repeat the process, twisting it away from your face and bringing it toward the back. 4. Secure the Twists: Now, you have a couple of options. You can cross one twist over the other and secure them together with bobby pins, hiding the pins underneath the twists. Alternatively, you can join the two twisted sections with a small, clear elastic band. For a seamless finish, take a small strand of hair from the tail and wrap it around the elastic, tucking the end away with a bobby pin.
Customise Your Look with Simple Variations
Once you've mastered the basic technique, the fun begins. The twisted half-up is incredibly adaptable. For a fuller, more voluminous look, gently tug on the edges of your twists after securing them. This 'pancaking' technique makes the twists appear thicker and more prominent. You can also play with the placement; for a regal, crown-like effect, start the twists from further back. If you have shorter hair, smaller, tighter twists pinned close to the head work wonderfully. For a more bohemian feel, incorporate a small braid into one of the twisted sections. Don’t be afraid to leave a few soft tendrils out around your face to frame it beautifully.
Finishing Touches and Accessories
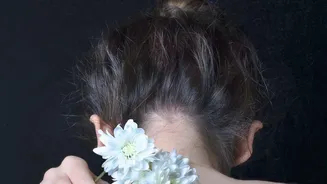
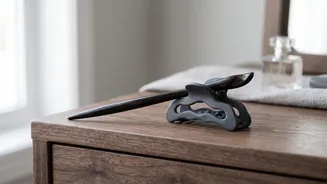
The right finishing touches can take your twisted half-up from simply pretty to truly stunning. A light mist of hairspray will help tame any flyaways and ensure your style holds throughout the day. If you want a sleeker finish, a styling stick or a bit of smoothing cream can work wonders on the hair around your crown. This is also the perfect hairstyle to accessorise. A decorative clip, a delicate barrette, or even a silk ribbon tied over the securing point can add a personal touch and a pop of flair. Whether you keep it simple or dress it up, this style is designed to be made your own.