






The Allure of the Polished Low Bun
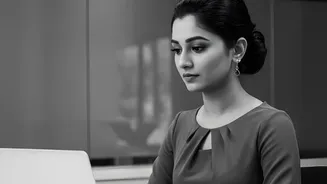
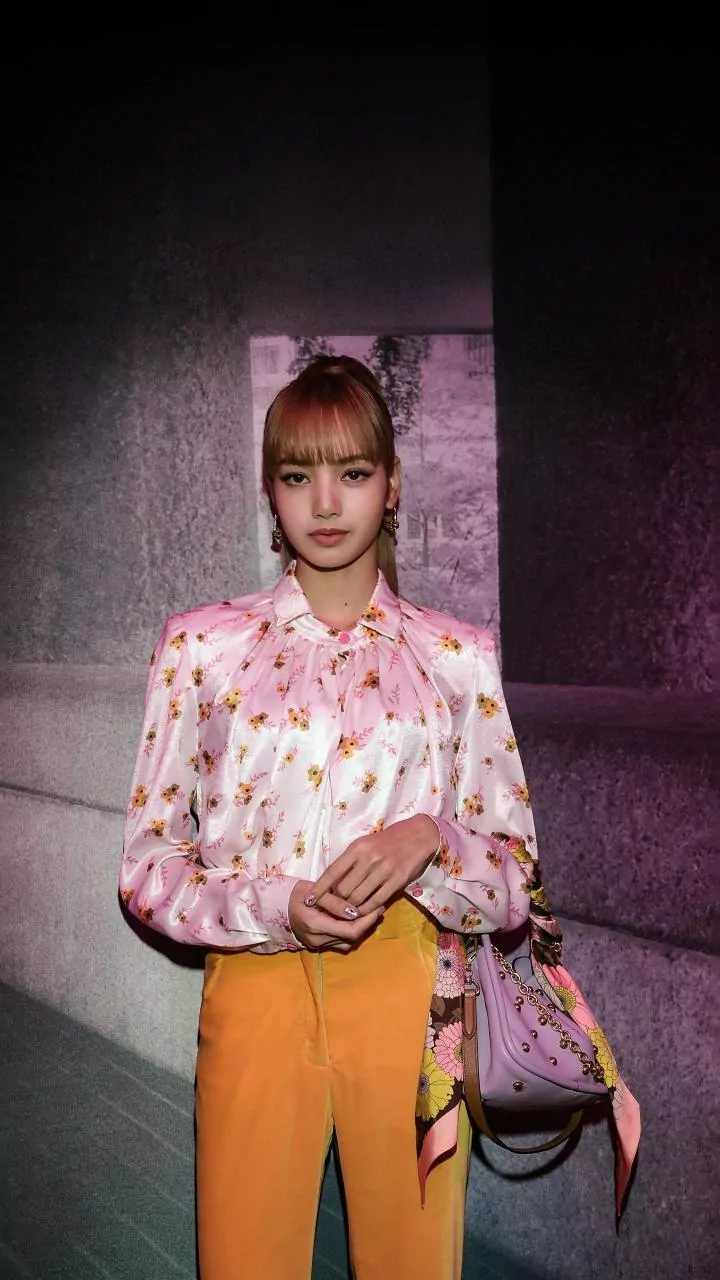
Effortlessly chic and universally flattering, the low bun is a go-to hairstyle for a reason. It’s a simple updo that can look incredibly sophisticated, making it a favorite on red carpets and for everyday elegance alike. Unlike a high bun, the low bun sits
gracefully at the nape of the neck, creating a softer, more grounded look that complements your bone structure. The focus on a neat parting and a sleek finish transforms it from a quick, casual style into an intentional, polished statement that requires no heat styling, just a bit of tension and technique.
Essential Tools and Products
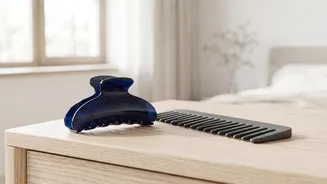
Gathering the right tools is the first step towards achieving a flawless low bun. You will need a comb for parting, preferably a rat-tail comb for precision. A boar bristle brush is highly recommended for smoothing down hair and eliminating bumps. You'll also need strong hair elastics (consider ones that match your hair color), bobby pins, and a good styling product like a gel, pomade, or styling cream for hold and shine. A finishing spray is crucial for taming flyaways and ensuring your style lasts all day.
Step 1: The Perfect Parting
A clean part is the foundation of this polished look. Decide whether you want a center or a deep side part. For the straightest line, use the end of a rat-tail comb. Start with dry hair; second-day hair often has better grip than freshly washed hair. If your hair is clean, a little dry shampoo or texture spray can add the necessary hold. Once your part is created, you can mist it with a light hairspray to keep it in place as you work.
Step 2: Securing the Sleek Ponytail
Apply a styling cream or gel to your hair, focusing on the roots and hairline to tame frizz and flyaways. Using a boar bristle brush, smooth your hair down and gather it into a low ponytail at the nape of your neck. Keep the tension firm to ensure a smooth, bump-free surface. For very thick hair, it can be helpful to work in sections. Secure the ponytail tightly with a strong hair elastic. Using a hair bungee or two elastics can provide extra hold for heavy hair.
Step 3: Creating and Securing the Bun
There are several ways to form the bun. The most common method is to twist the ponytail tightly from base to ends, then wrap it around the elastic to form a coil. Tuck the end of the ponytail under the bun and secure it with bobby pins. For extra security, try crossing pins in an 'X' shape. Another simple technique is the loop bun: when securing your ponytail with the final elastic, don't pull the hair all the way through, leaving a looped bun and a short tail which you can wrap around the base. For thick hair, you may need to insert pins as you wrap the bun to keep it secure.
Step 4: The Flawless Finish
The final touches make all the difference. To tame any remaining flyaways or baby hairs, spray a clean toothbrush or an edge brush with hairspray and gently smooth them down. A light mist of a shine spray can add a glossy, professional-looking finish. If you notice any gaps or thin areas around your hairline, you can use a touch of eyeshadow in your hair color to create the illusion of fullness.
Variations for Different Hair and Occasions
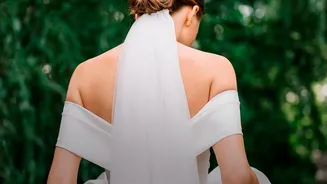
This style is highly adaptable. For a romantic twist, try braiding your ponytail before wrapping it into a bun. This adds beautiful texture and is great for weddings or special events. If you have curly hair, you can work with your natural texture by applying a curl-enhancing cream and leaving the ends of your curls visible in the bun for a softer look. For a more casual day, pull a few face-framing tendrils loose before creating your bun. Adding a simple accessory like a silk scrunchie or decorative pins can instantly dress up the look.