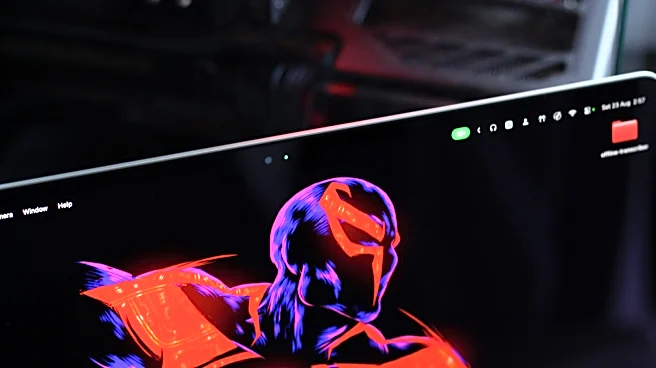
Apple's emphasis on privacy and security over the years is a feat worth applauding. You may have noticed a green light lit up next to the camera on your MacBook -- this indicates that the FaceTime camera is currently
in use by an app or service. You can test this by firing up Photo Booth or starting a solo Google Meet session.
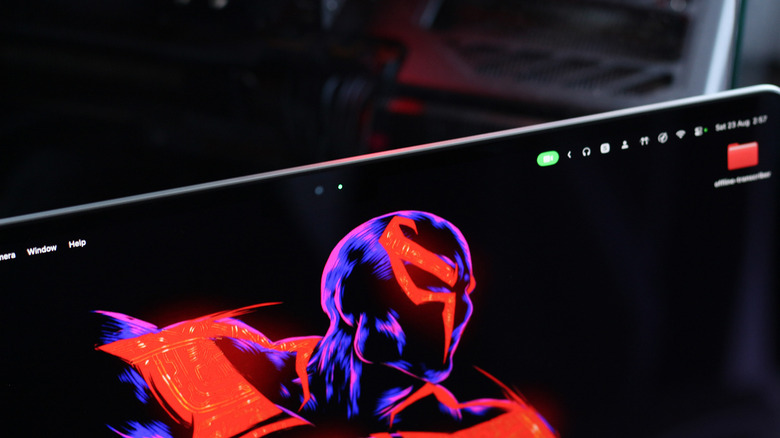
Whenever an app or a website requests a live feed from your MacBook's camera, the green dot next to it lights up. Apple claims "the camera is engineered so that it can't be activated without the camera indicator light also turning on."
Though you cannot disable this green dot, you can choose to restrict certain apps from ever accessing the camera itself. You can do this by navigating to System Settings > Privacy & Security > Camera, and toggling individual apps off. This green light is different from the privacy indicators that show up next to the Control Center on your Mac.
You cannot disable the privacy indicators on your Mac's main screen -- be it an iMac or the built-in display of your MacBook. With so many solid docking stations available for laptops, you can dock your MacBook and rely on a bigger monitor to get tasks done. In such cases, you can choose to hide the colored dots from popping up on external displays -- here's how.
Read more: 7 Of The Most Useful USB Gadgets You Can Buy On Amazon
Entering Recovery Mode On macOS
Like some of the essential security settings in macOS, these privacy indicators can be a reliable way to keep bad actors from prying. Although there's no official way to turn this feature off when using your Mac's main display, you can disable these indicators when your Mac is hooked up to an external display -- provided you run the app in full screen and are on macOS Sonoma 14.4 or newer.
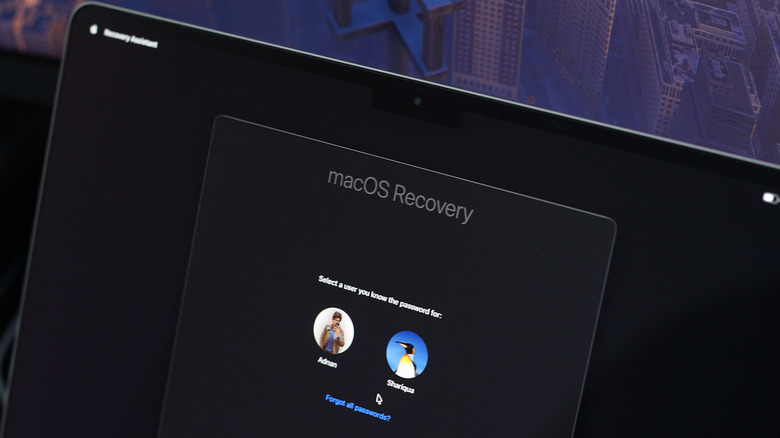
You don't require any special downloads or third-party tools to accomplish this, but you will need to jump through a few hoops. First up, you need to boot your Mac up in the macOS Recovery mode. The steps differ depending on which model of the computer you own.
For Apple silicon-based Macs:
- Click the Apple menu and select "Shut Down." Wait for your Mac to fully power down.
- Press and hold the power button until you notice the disk partition and Options icons show up.
- Click the Options button and select "Continue."
- Log in to your Mac using an administrator account -- enter your credentials when prompted.
For older Intel-based Macs:
- Click the Apple menu and select "Restart."
- Before your screen goes black, press and hold the Command and R keys on your keyboard.
- Sign in to an administrator account.
Your Mac will now enter recovery mode and will offer a few tools.
Disabling Privacy Indicators On macOS
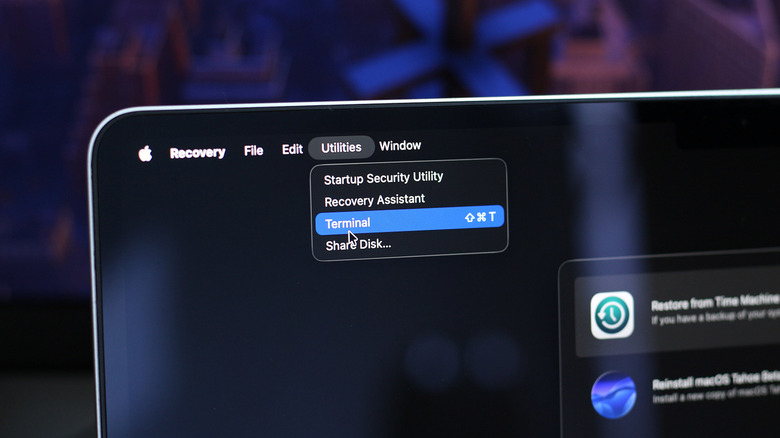
In the recovery mode, tools like Time Machine may take center stage, but we will need something much simpler to disable the privacy indicators.
- While in recovery mode, click on the "Utilities" option in the menu bar at the top.
- Select "Terminal" from the list.
- Enter the following command:
system-override suppress-sw-camera-indication-on-external-displays=on
- When prompted, enter the password to your macOS account and press Enter.
- From the menu bar at the top, click on the Apple icon and select "Restart."
- Once your Mac boots up normally, launch the System Settings app.
- Navigate to Privacy & Security > Camera.
- Turn the "Privacy Indicators" toggle off.
- Head back and repeat the same for the "Microphone" settings.
The next time you run a single or dual display setup with your Mac and switch a window to full screen, you will no longer see the pesky privacy indicators at the top. In our testing, we found that the privacy indicators still show up on the main display of your MacBook or iMac -- just not on the external monitor that's running an app in full screen.
This could be due to privacy reasons, since at least one display should be able to alert the user of any use of the camera or microphone. This also still won't disable the green LED light near the FaceTime camera on your Mac, regardless of whether you have privacy indicators turned on or off.
Want the latest in tech and auto trends? Subscribe to our free newsletter for the latest headlines, expert guides, and how-to tips, one email at a time.
Read the original article on SlashGear.