
We may receive a commission on purchases made from links.
There are a few things you should know before you start sharpening a chainsaw. Perhaps the most important thing is knowing how to perform the task
safely. Start by removing and securing the spark plug wire from the spark plug, removing the battery, or unplugging any electric source depending on the type of chainsaw you're sharpening.
Next, you'll need to gather the required tools. While there are a number of fancy gadgets and cordless drill attachments to sharpen chainsaw chains, a simple Oregon Universal Chainsaw Field Kit consists of correctly sized round files for the saw chain cutting teeth, a flat file for rakers, a file handle, and a file guide. The guide not only ensures filing the cutting teeth at the proper angle, but it also serves as a measuring tool for the rakers, which are sometimes known as the cutting tooth depth gauge.
The raker height on a saw chain determines the depth at which the cutting tooth following it will cut. Typically, the desired height for the raker is 0.025-inch below the height of the edge of the cutting tooth that follows it. However, it's always best to check the manufacturer's recommendation for your particular chainsaw.
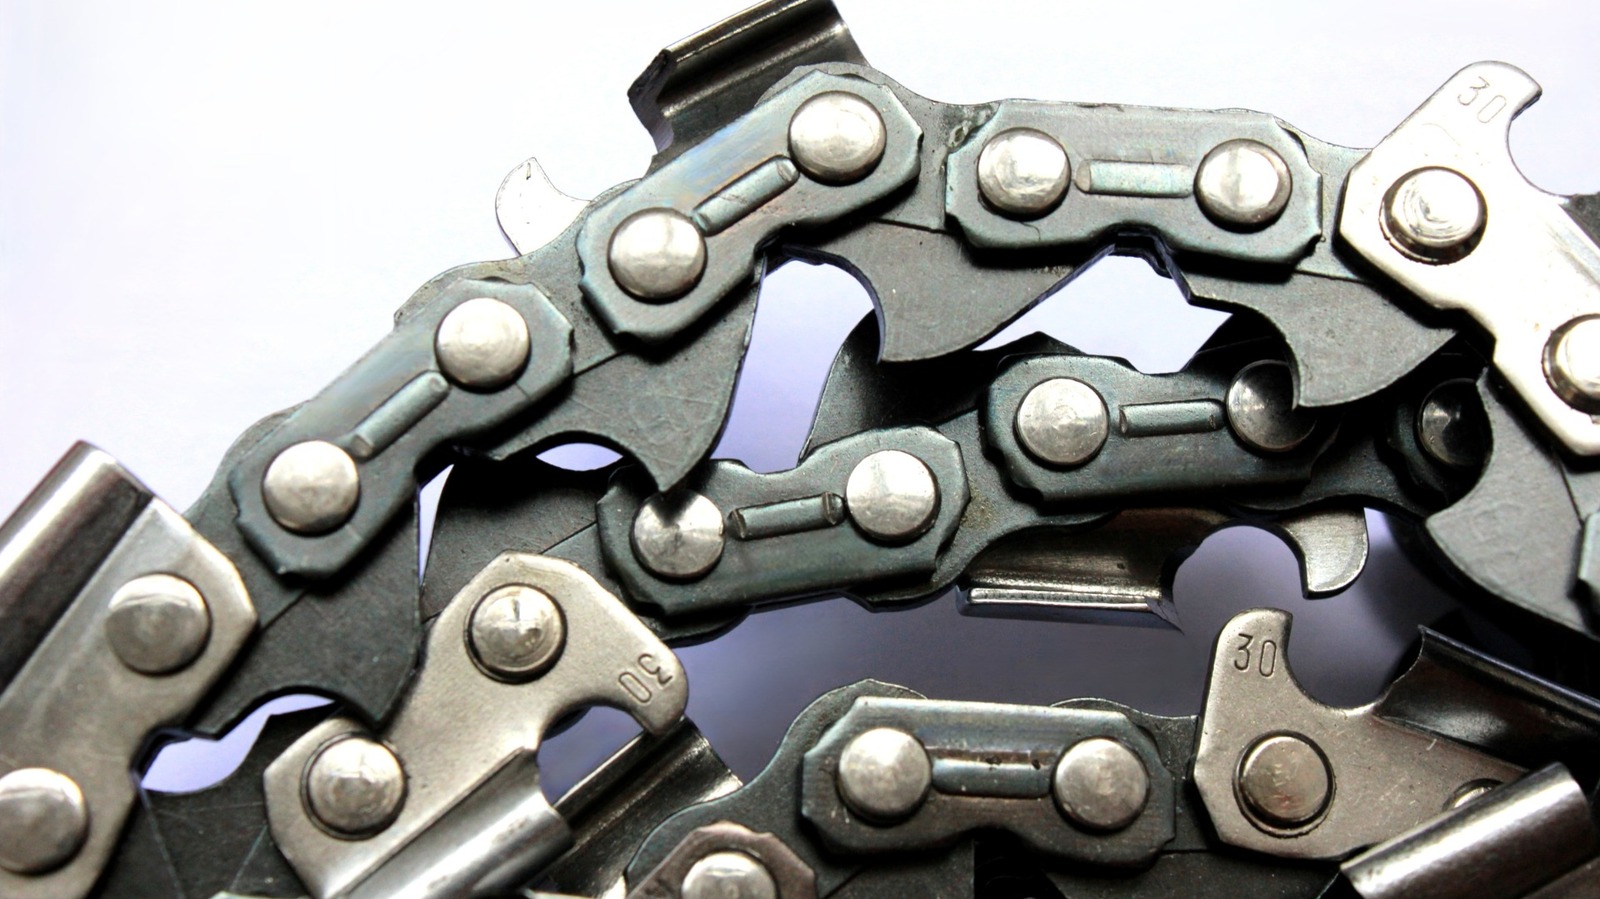
The saw chain's cutting teeth are sloped toward the rear, resulting in the cutting edge of a new chain sitting slightly higher than that of a chain that's been sharpened a few times. When the cutting tooth height is reduced without filing the raker to match it will remove less wood with each pass. If the raker is filed too low, it increases the depth of cut for its related cutting tooth. Filing too many of the rakers too low can lead to saw and chain problems, safety concerns, and operator fatigue.
Read more: 13 Highly-Rated Harbor Freight Pittsburgh Tools With A Lifetime Warranty
How to set the height of chainsaw rakers
An improperly maintained chainsaw, or its saw chain, are leading factors that cause chainsaw kickback, a dangerous phenomenon where the guide bar and spinning chain violently rotate back toward the operator. While sharpening a saw chain is a skill that seems daunting at first, once the task is mastered, setting raker height is simple.
The easiest method uses a chainsaw chain depth gauge from the Oregon Saw Chain Manufacturing Corporation, widely known as Oregon, available from Amazon with a flat file for under $10, or one from any other reputable supplier. The guide simply lays on the saw chain cutting teeth with the raker protruding through a slot in the gauge. Filing the raker with the gauge in place is one option, but it will wear the gauge down over time. You could also use the gauge to check the raker height and remove it to file a stroke or two from the raker tip as needed before rechecking its height.
You can also measure raker height using a straight edge, adding a 0.025-inch feeler gauge, such as you'd find in this set of feeler gauges from Harbor Freight for example. To start, lay the straight edge along the tips of the saw chain's cutting teeth, then use the 0.025-inch feeler gauge to check the gap between the tip of the raker and the straight edge. If the feeler gauge doesn't fit into the gap, file a couple of strokes from the raker tip and recheck the height. Once you've checked the rakers and filed them to the desired height, you can periodically measure a small sampling of the remaining rakers to make sure they stay a consistent height.
Want the latest in tech and auto trends? Subscribe to our free newsletter for the latest headlines, expert guides, and how-to tips, one email at a time. You can also add us as a preferred search source on Google.
Read the original article on SlashGear.