Discover the art of making Homemade Paneer: Your guide to creating fresh, melt-in-your-mouth paneer at home!
Paneer, the beloved Indian cheese, is a staple in countless vegetarian dishes. From the creamy
Palak Paneer to the spicy Paneer Tikka, its versatility knows no bounds. While readily available in stores, nothing beats the freshness and satisfaction of making paneer at home.
Plus, you control the ingredients, ensuring a pure and delicious product. Forget those rubbery store-bought blocks, this guide will show you how to create soft, melt-in-your-mouth paneer in your very own kitchen. It's easier than you think!
The beauty of homemade paneer lies in its simplicity.
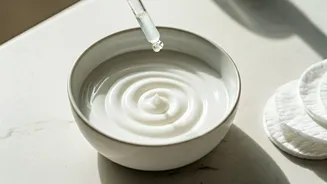
You need just two ingredients: milk and an acid, typically lemon juice or vinegar. The process involves heating the milk, adding the acid to curdle it, separating the whey, and pressing the curds to form a solid block.
This hands-on experience brings a sense of accomplishment and allows you to customize the texture to your liking. Whether you prefer a slightly crumbly or a firm paneer, this guide will equip you with the knowledge to achieve your desired results.
So, ditch the store-bought options and embark on this culinary adventure.
Ingredients and Equipment
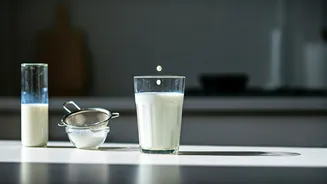
Recipe calls for 1 gallon whole milk for best results
1 gallon (approximately 4 liters) whole milk (full-fat milk is recommended for best results)
Recipe tip: Use lemon juice/vinegar in milk
1/4 cup lemon juice or white vinegar (you may need slightly more, depending on the milk)
Step-by-Step Instructions
Step 1: Heating the Milk
Pour the milk into a large, heavy-bottomed pot. This type of pot helps prevent scorching. Place the pot over medium heat and bring the milk to a gentle simmer. Stir the milk frequently to prevent it from sticking to the bottom of the pot and burning.
This is a crucial step; burnt milk will impart a bitter taste to your paneer. Keep a close watch on the milk and ensure it doesn't boil over. If you have a thermometer, aim for a temperature of around 190-200°F (88-93°C).
If you don't have a thermometer, look for small bubbles forming around the edges of the pot and steam rising from the surface. This indicates that the milk is simmering. This process usually takes about 15-20 minutes, so be patient and attentive.
The constant stirring is key to preventing any mishaps. It ensures even heating and prevents any milk solids from settling at the bottom. Once the milk reaches the desired temperature or simmering point, proceed to the next step promptly.
This meticulous attention to detail will significantly impact the final texture and taste of your homemade paneer. Remember, patience and consistent stirring are your best friends in this stage.
Step 2: Curdling the Milk
Once the milk is simmering, reduce the heat to low.
Gradually add the lemon juice or vinegar, a tablespoon at a time, stirring gently after each addition. You'll notice the milk starting to separate into curds (the solid part) and whey (the liquid part). Continue adding the acid until the whey is clear and yellowish-green.
If the whey remains milky, add a bit more lemon juice or vinegar, one teaspoon at a time, until it clarifies. Be careful not to add too much acid, as this can make the paneer tough. The key is to add just enough to achieve a clean separation.
Stir gently, avoiding vigorous mixing, which can break up the curds. Observe the transformation carefully. The curds will gradually clump together, and the whey will become more transparent. The color of the whey is a good indicator of success. It should be a clear, yellowish-green.
Once you've achieved this, turn off the heat and let the mixture sit for a minute or two to allow the curds to settle. Resist the urge to stir excessively during this stage. Gentle encouragement is all that's needed. Remember, less is more when it comes to stirring once curdling begins.
Step 3: Draining the Whey
Line a colander with cheesecloth or muslin cloth. Place the colander over a large bowl to collect the whey. Gently pour the curdled milk mixture into the cheesecloth-lined colander. The cheesecloth will trap the curds while allowing the whey to drain into the bowl below.
Once all the mixture has been poured in, gather the edges of the cheesecloth and twist them together to form a tight bundle containing the curds. Squeeze gently to remove excess whey. Be careful not to squeeze too hard, as this can make the paneer dry and crumbly.
The goal is to remove enough whey to form a solid block of paneer. You can also rinse the paneer in the cheesecloth with cold water to remove any lingering taste of lemon juice or vinegar. This step is optional but recommended, especially if you used a larger amount of acid.
The rinsing also helps to cool the paneer quickly, which is important for achieving the desired texture. After rinsing, squeeze out any remaining water. The paneer should now be a relatively solid mass within the cheesecloth.
This step is about gently coaxing the whey out without compromising the integrity of the curds.
Step 4: Pressing the Paneer
Place the bundle of paneer on a flat surface, such as a plate or cutting board.
Place a heavy object on top of the bundle to press out any remaining whey and compact the paneer into a solid block. You can use a stack of books, a heavy pot filled with water, or any other heavy object you have on hand. The heavier the object, the firmer the paneer will be.
Press the paneer for at least 2-3 hours, or even overnight in the refrigerator for a firmer texture. The pressing process determines the final texture of your paneer.
A shorter pressing time will result in a softer, more crumbly paneer, while a longer pressing time will yield a firmer, more sliceable paneer. Adjust the pressing time according to your preference and intended use.
During the pressing process, the weight will gradually squeeze out remaining whey and compact the curds. You may notice whey seeping out during the first hour or so. If so, you can carefully drain the whey from the plate or cutting board.
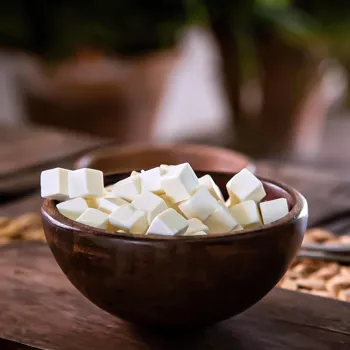
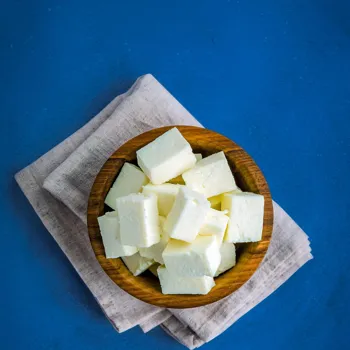
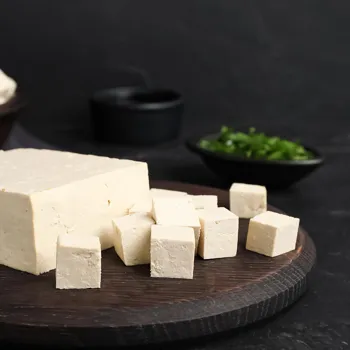
Once the pressing is complete, your homemade paneer is ready! Remove the weight and carefully unwrap the cheesecloth. The paneer should be a firm, solid block.
Step 5: Storing the Paneer
Once pressed, remove the paneer from the cheesecloth. You can use it immediately or store it for later use.
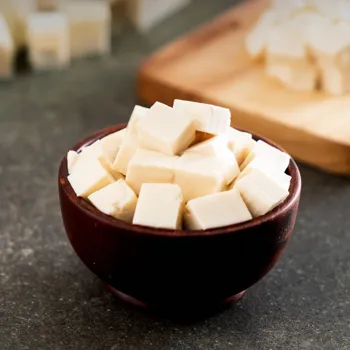
To store, cut the paneer into your desired size and shape. Place the paneer in an airtight container filled with fresh, cold water. This will help to keep the paneer moist and prevent it from drying out. Store the container in the refrigerator for up to 3-4 days, changing the water daily.
Make sure the paneer is fully submerged in the water to prevent discoloration and maintain its freshness. Alternatively, you can freeze the paneer for longer storage. To freeze, wrap the paneer tightly in plastic wrap and then place it in a freezer bag.
Frozen paneer can be stored for up to 2-3 months. However, keep in mind that frozen paneer may become slightly more crumbly after thawing.
Therefore, it's best to use frozen paneer in dishes where a slightly crumbly texture is acceptable, such as in crumbled paneer dishes or as a filling for parathas. Proper storage is essential for maintaining the quality and freshness of your homemade paneer.
Step 6: Enjoying Your Homemade Paneer
Your homemade paneer is now ready to be used in a variety of dishes! From classic curries like Palak Paneer and Shahi Paneer to appetizers like Paneer Tikka and Paneer Pakora, the possibilities are endless.
You can also crumble it into salads, grate it over vegetables, or use it as a filling for sandwiches and wraps. The fresh, homemade flavor of your paneer will elevate any dish you use it in. Experiment with different recipes and discover your favorite ways to enjoy your homemade creation.
The soft, creamy texture and mild flavor of homemade paneer make it a versatile ingredient that can be incorporated into a wide range of cuisines. Don't be afraid to get creative and explore new culinary possibilities. The satisfaction of using homemade paneer in your cooking is unparalleled.
It's a testament to your culinary skills and a guarantee of a delicious and wholesome meal. So, go ahead and unleash your inner chef and create some culinary magic with your freshly made paneer! Share your creations with family and friends and bask in the appreciation of your homemade goodness.
Tips and Tricks for Perfect Paneer
Use full-fat milk
Full-fat milk yields the best results, producing a richer and creamier paneer.
Don't over-boil the milk
Over-boiling can make the paneer tough. Simmer gently instead.
Add acid gradually
Adding the acid gradually helps prevent the paneer from becoming too tough.
Rinse the finished product
Rinsing helps remove any lingering acidic taste.
Adjust pressing time
A shorter time yields softer paneer, longer for a firmer texture.
Store properly
Keep paneer submerged in water, refrigerated, for best results. Swap the water daily for freshness.
AI Generated Content. Glance/InMobi shall have no liability for the content